I wanted to do something a bit different for our bunk bed situation. I wanted the bunks to be long, since my wife's family is tall. I wanted them to be lightweight, efficiently built, and to not interfere with the windows, curtains, or opening/closing the windows. I wanted them to be strong enough for heavy adults. I wanted them to be spill proof, rust proof, rot proof, to not warp, cup, twist, or otherwise deform. I wanted them to be securely attached to the bus, and strong enough that I could lash or attach other things to them securely.
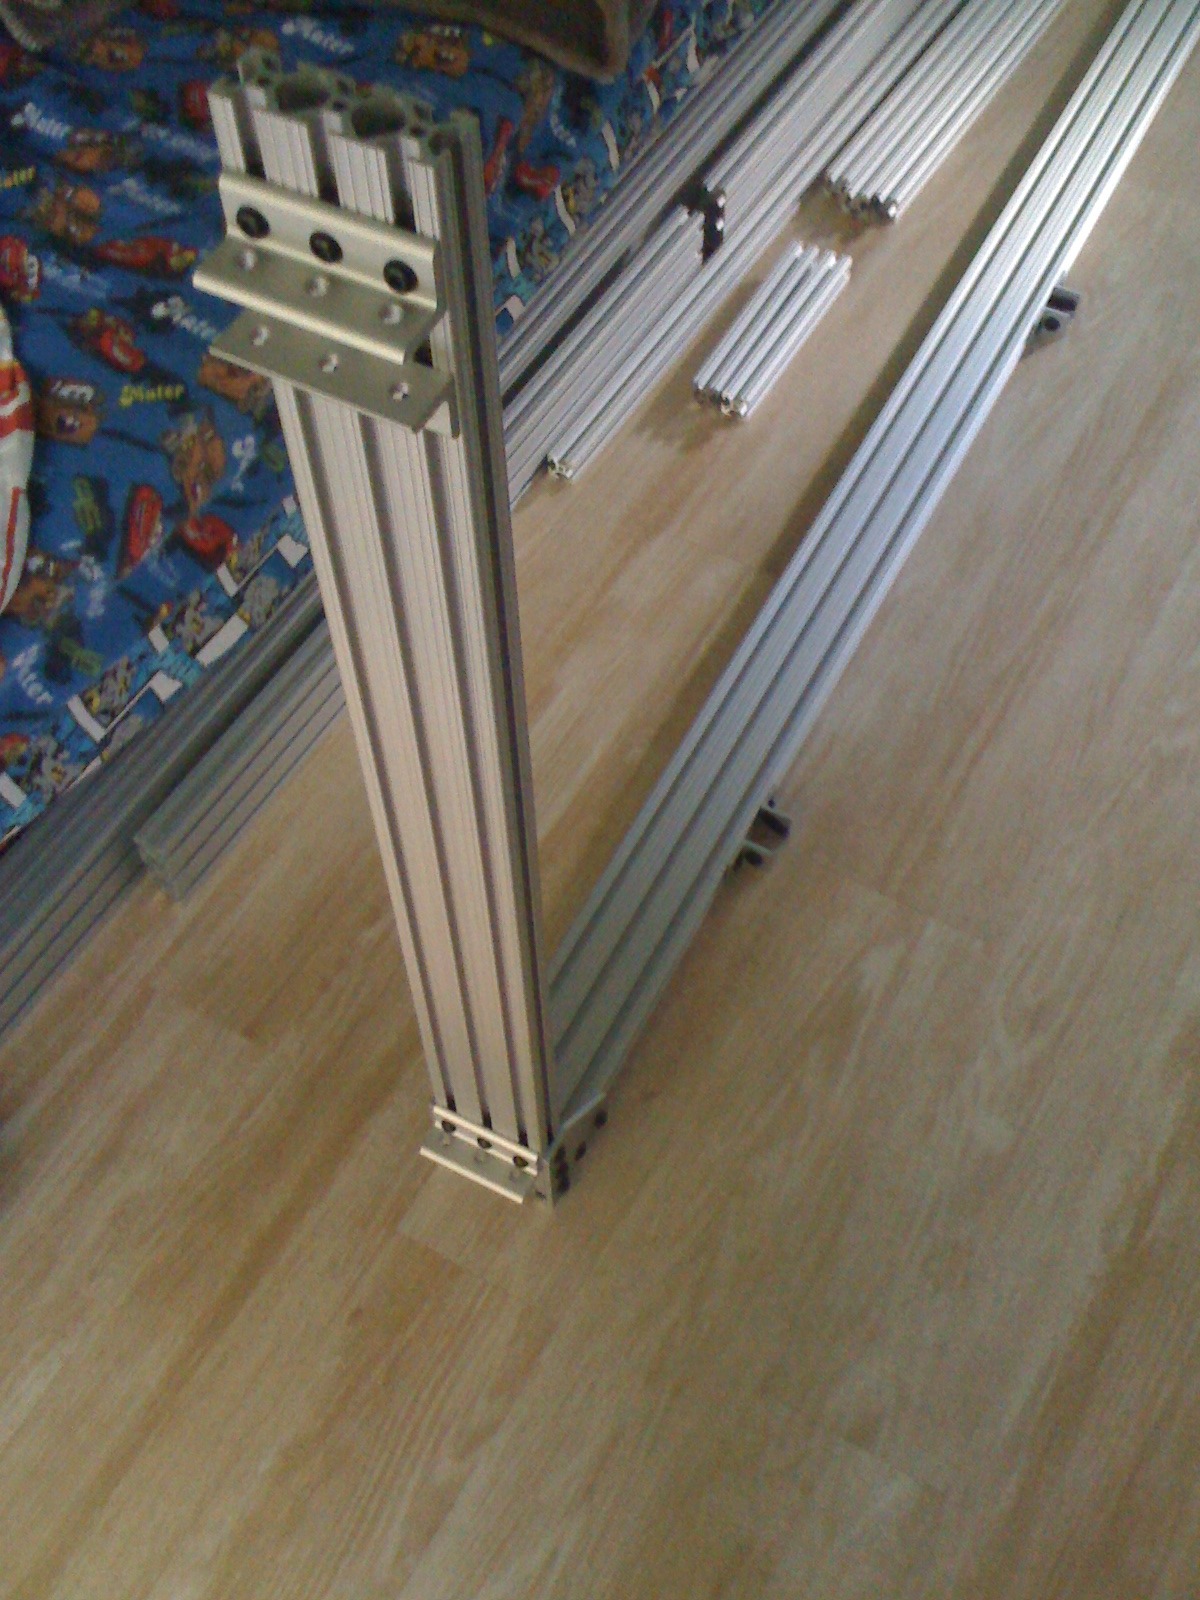
The solution was to use 80/20 extruded aluminum T-Slot framing.
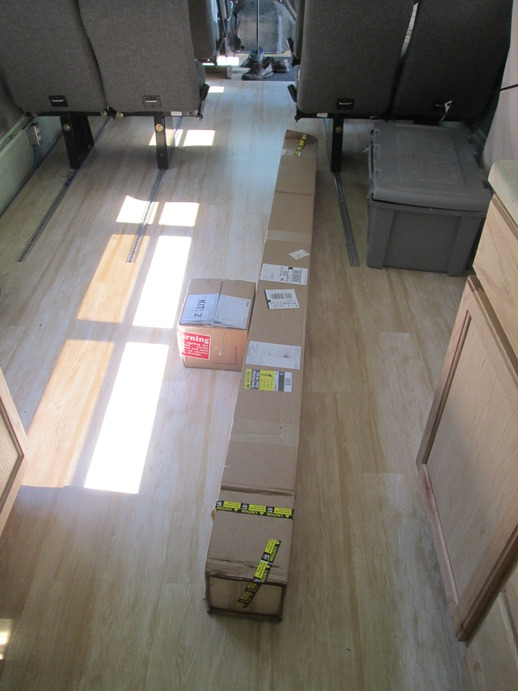
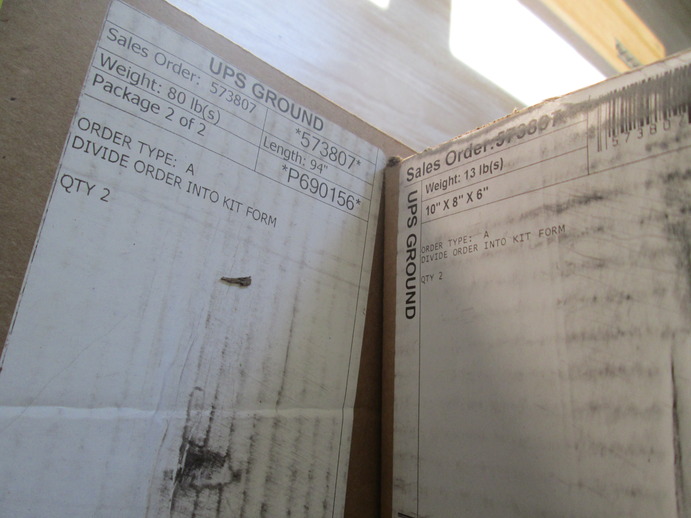
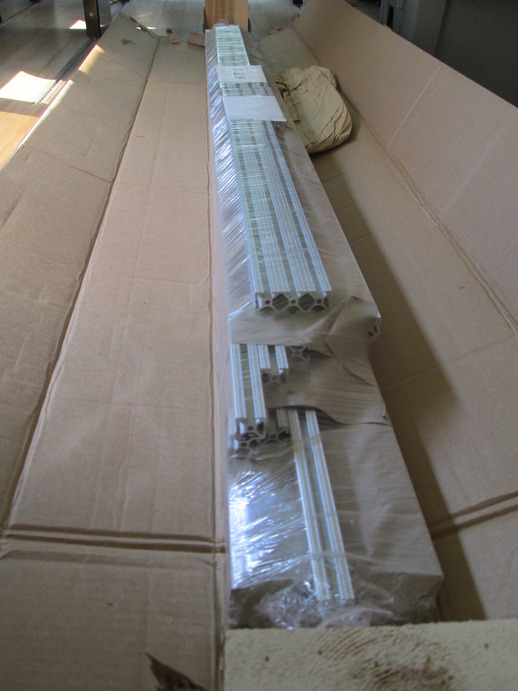
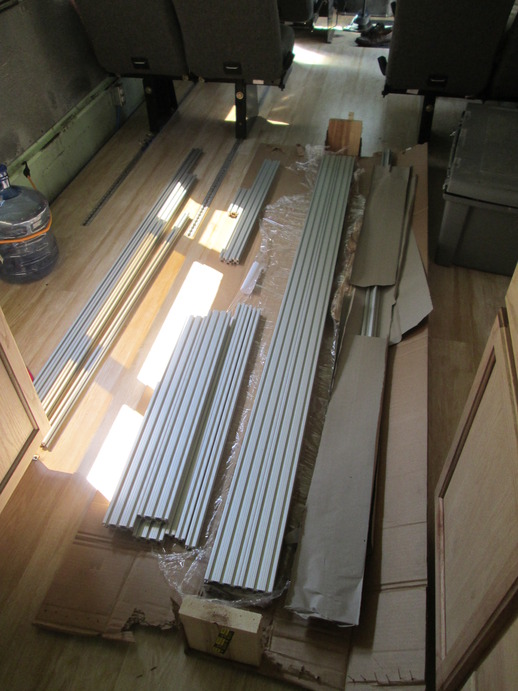
The beds came split into two kits; one kit for each side of the bus
You can see that the shipping weight was right around 93 lbs per kit
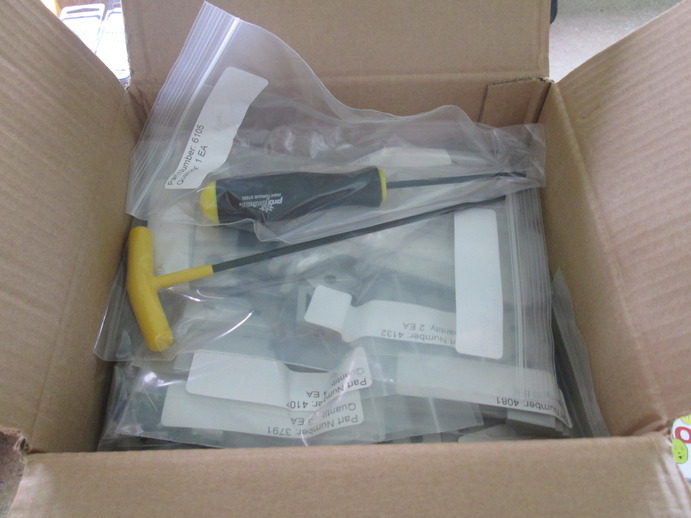
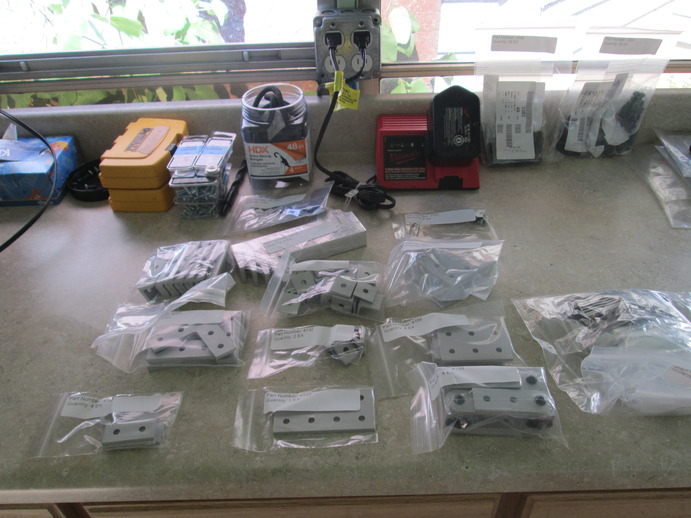
80/20 does a fantastic job packing and individually bagging the parts
I designed these bunkframes myself. Each bed frame should support well over 300 lbs. Yet the upright beams are only 1in square, and the bedrails are only 3 inches tall. The mattresses set inside the bedframes so that each bunk is incredibly thin. The bunks are height adjustable to any position along the vertical uprights, using a 5/32" allen wrench. I have them set so that the bottom bunk rests on the bus's chair rail, and so that the top bunk sits at a height of 40 inches. This means both the top and bottom bunk get usable light from the windows.
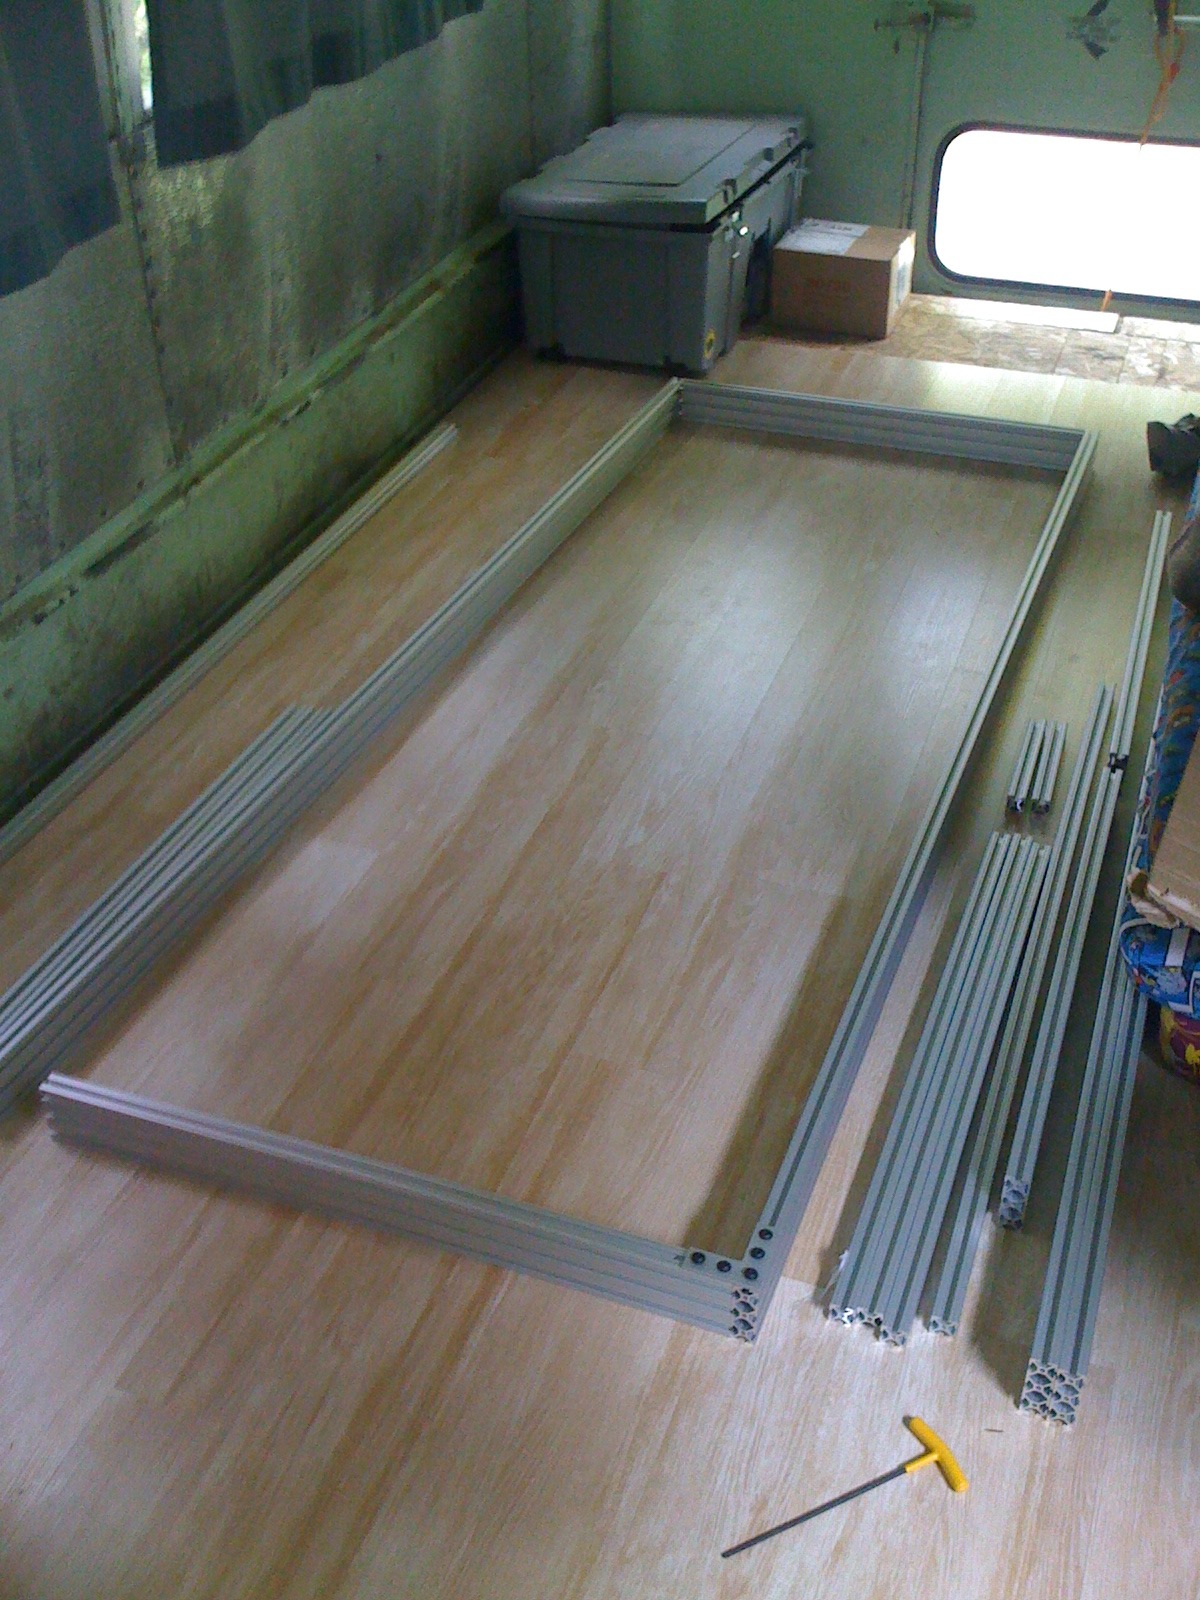
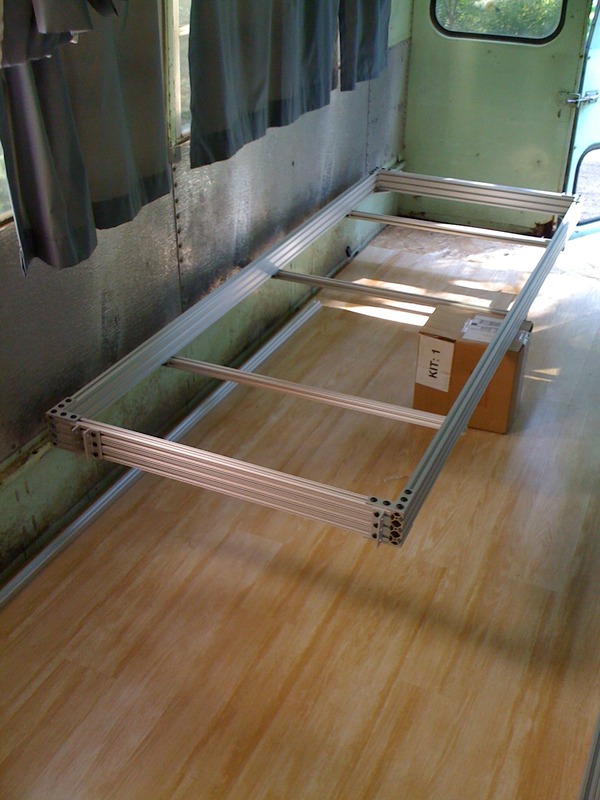
Assembly of the bedframe begins
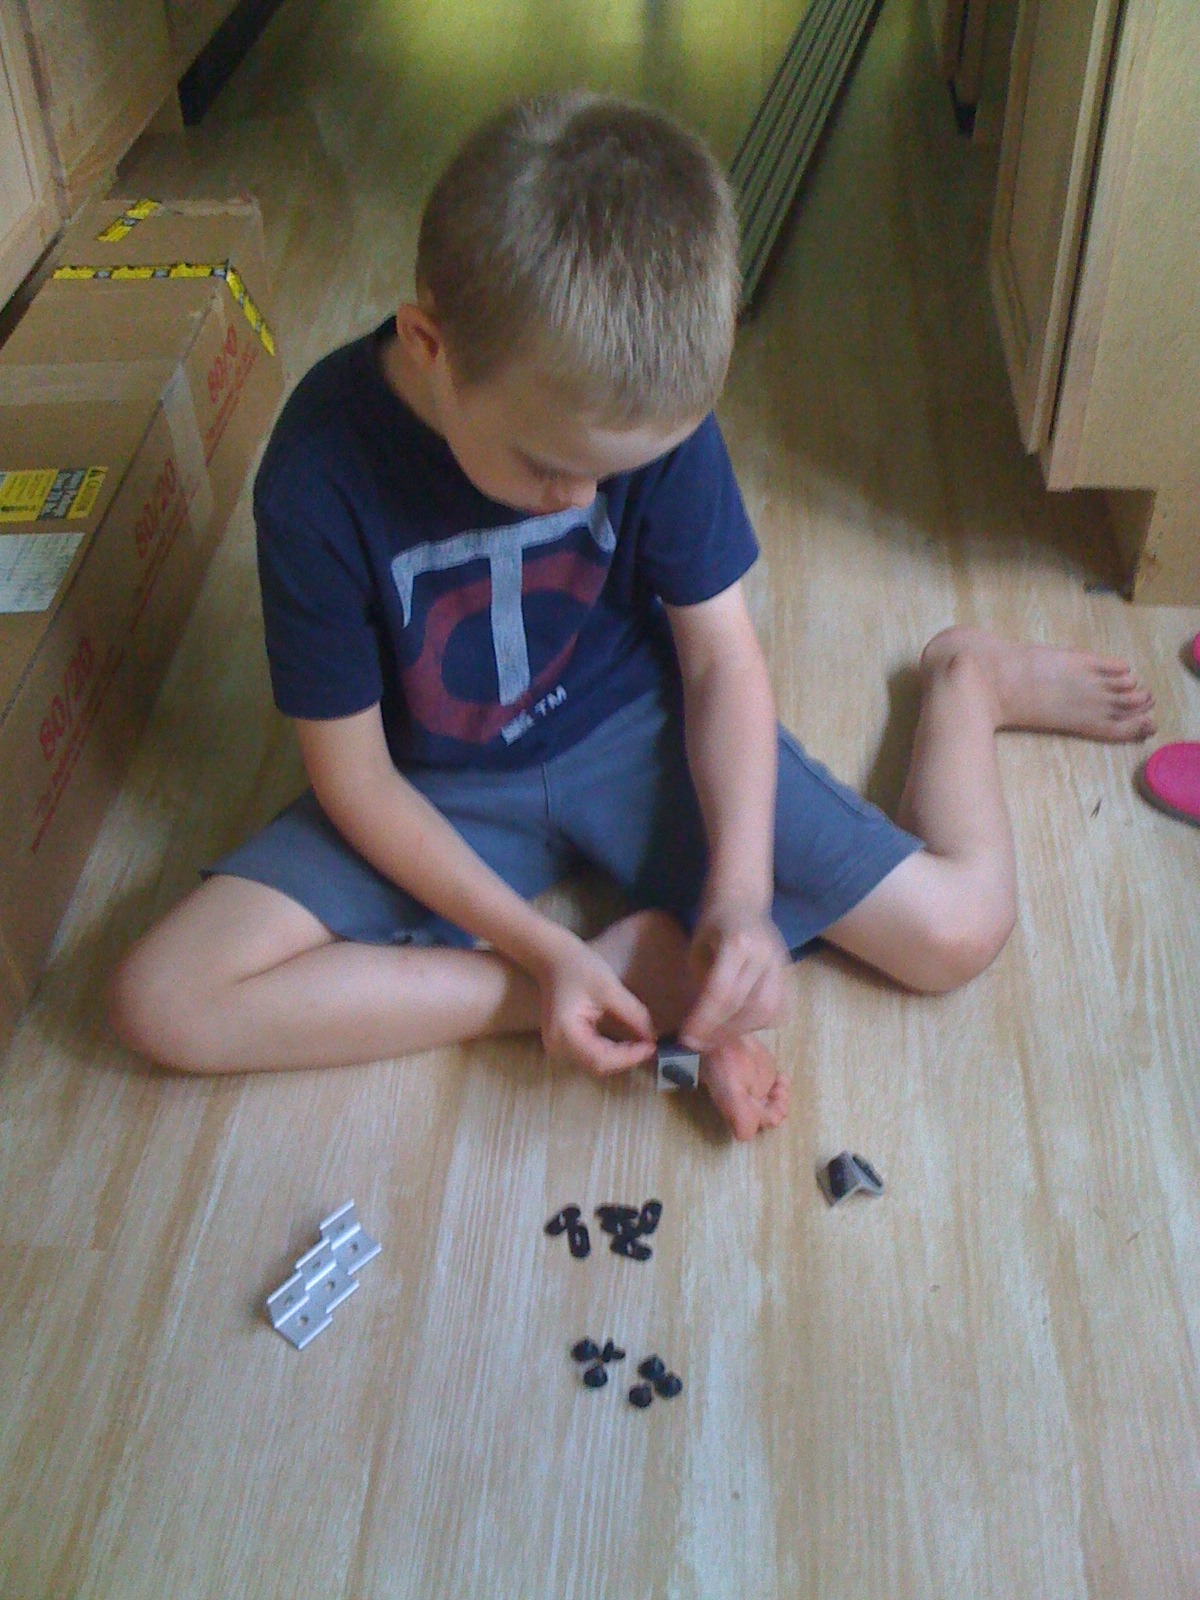
Here's my helper, loading fasteners into angle brackets
Midway through building the first bedframe
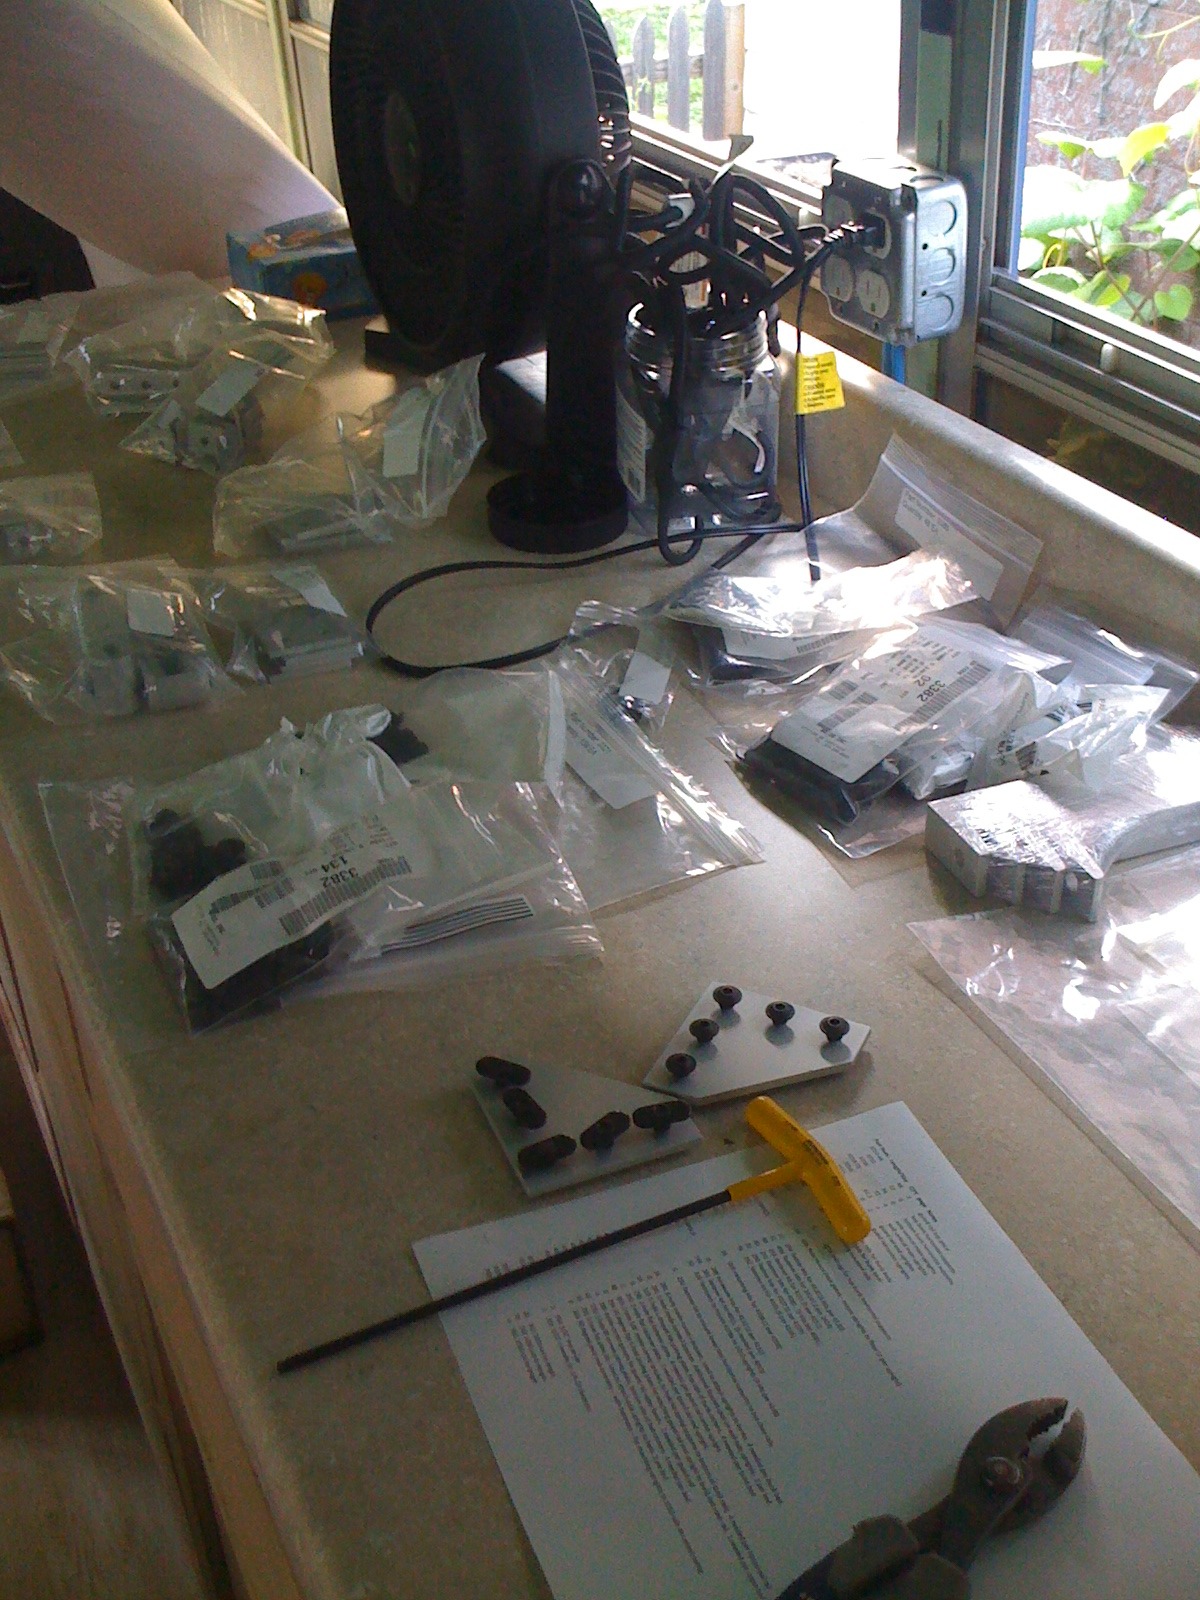
An assortment of fasteners and fastening plates. The official 80/20 5/32" allen tools are fantastic, and magnetic to boot.
Bottom frame: complete
Bottom frame resting in position
Wall-side upright in temporary position
Bunk frame free-standing and fully assembled. However, the frame is not attached to the bus. The ceiling rails are not installed yet

I dropped the mattresses in just to see what they'd look like.

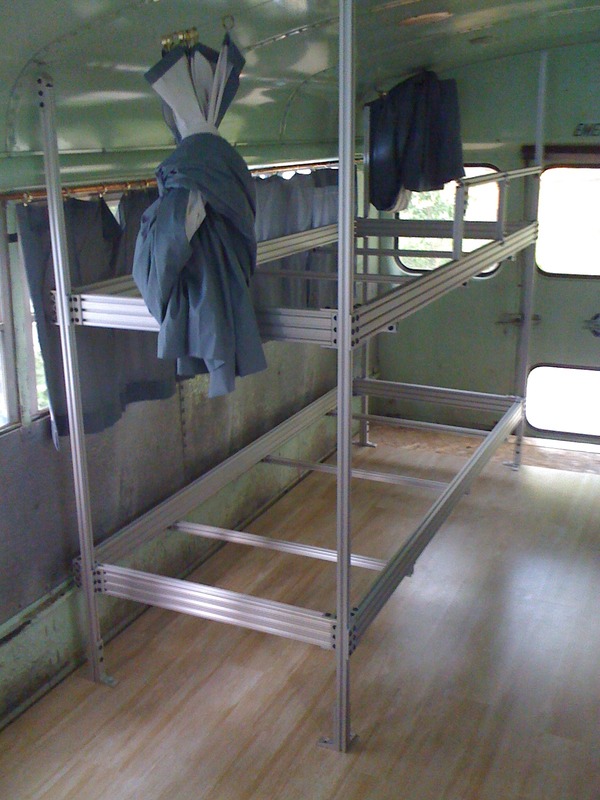
Here you can see all the bunks installed, tied into the ceiling.
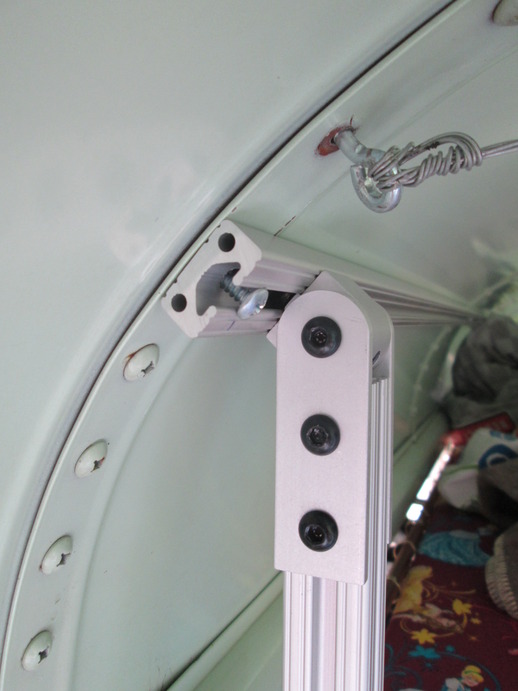
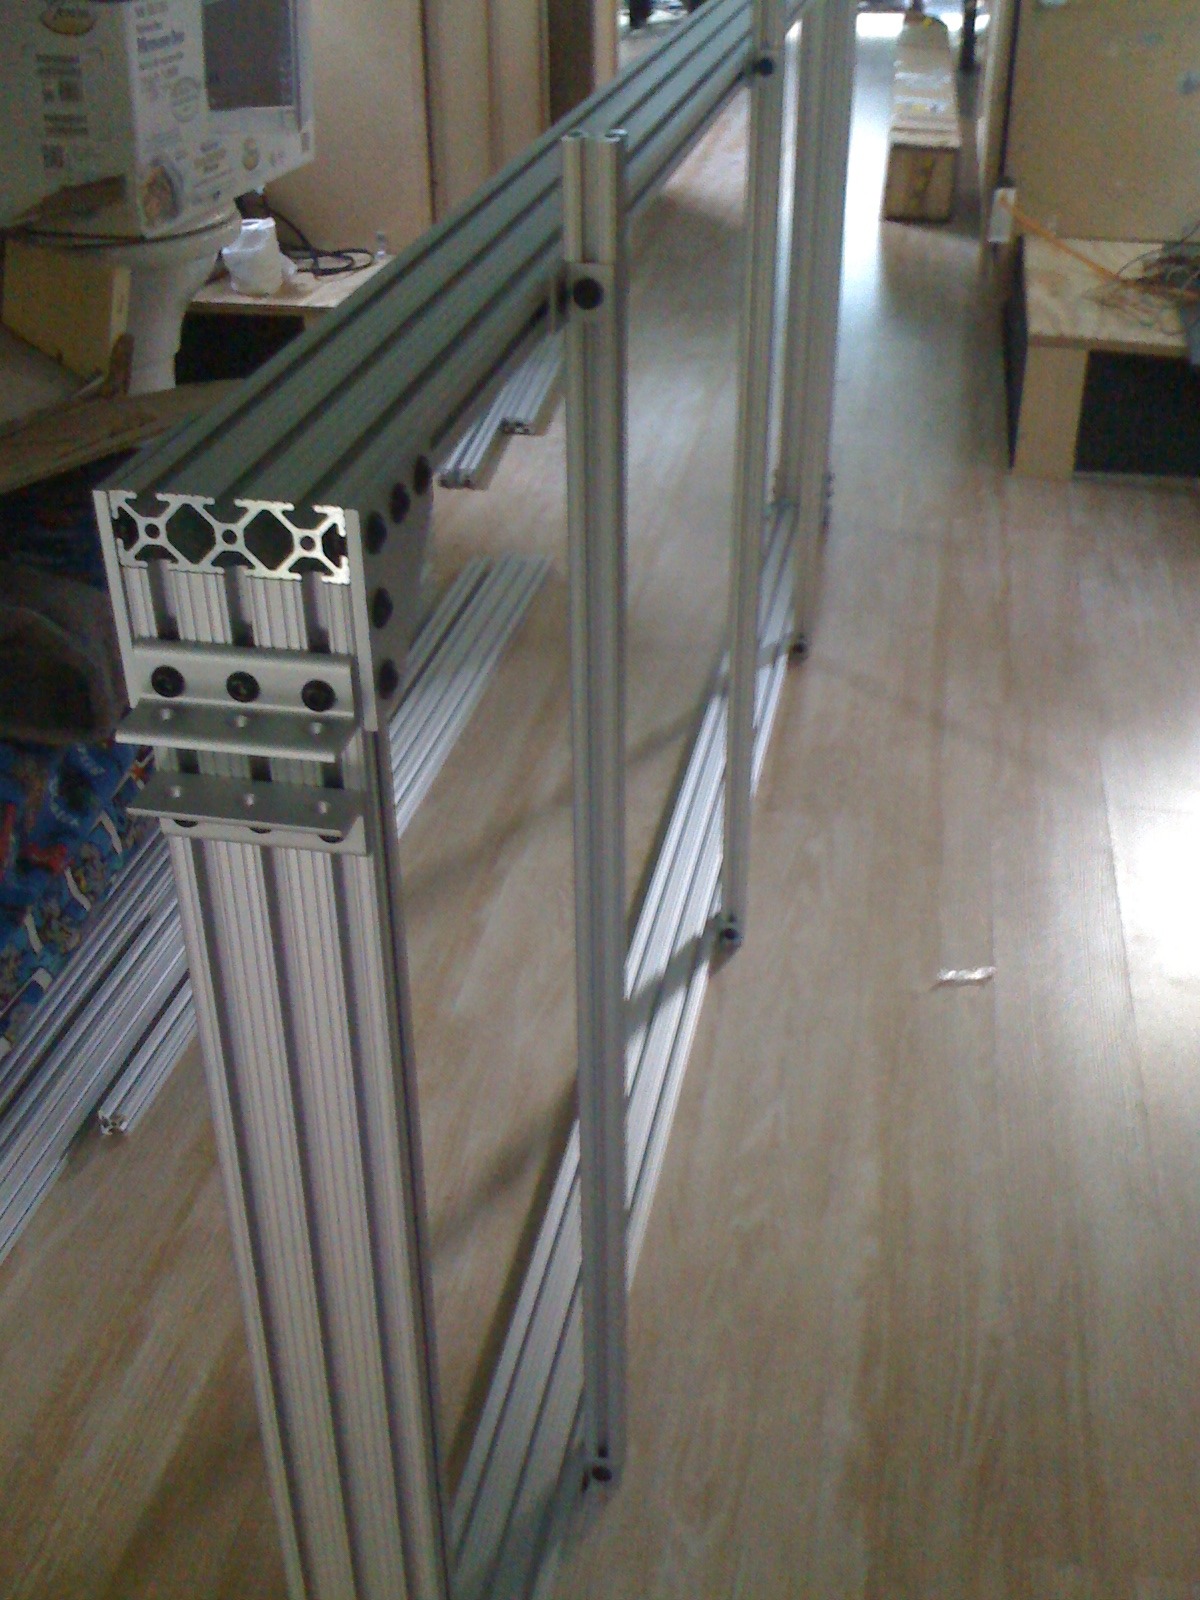
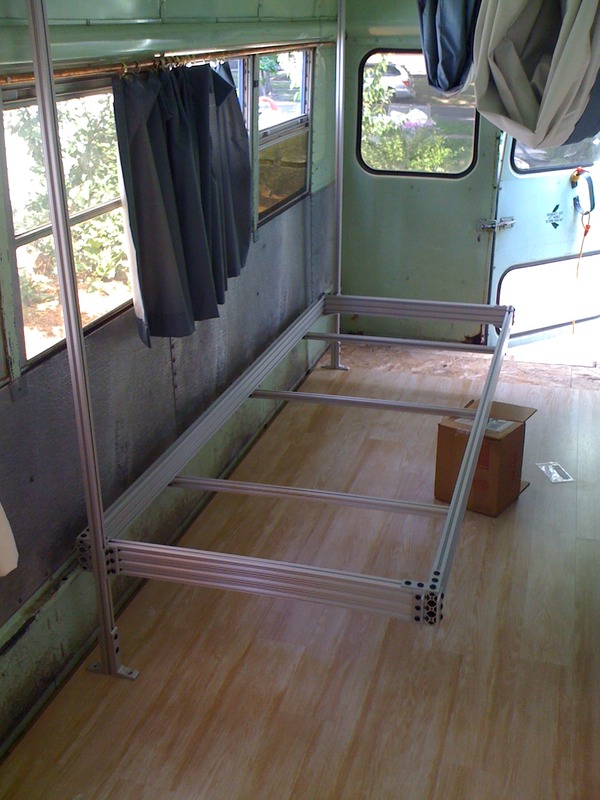
Here is a detail of how the bunks tie into the ceiling. 80/20 sells a part called a "1050" rail, which is 1" wide and .5" thick, and is meant for being attached to some other surface to provide a starting point for 80/20 construction. I used the factory screw holes in the bus roof, which attach the sheet metal ceiling to the metal frame hoops. I took out the existing fasteners, and attached 1050 rails along the length of the roof covering the beds.
To attach the bunks into the 1050 ceiling rails, I used rotating pivot nub assemblies. This let me adapt to the curved bus ceiling.
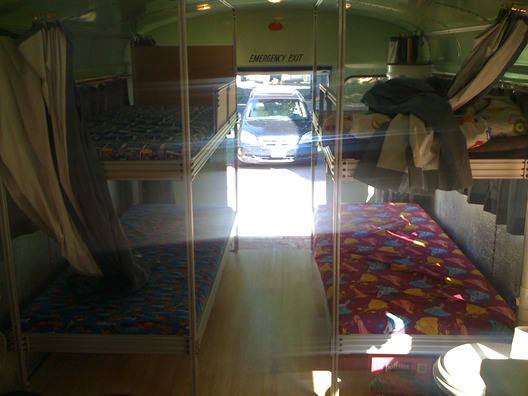
Here are the finished bunks, with mattresses installed. I used 3/4" sanded plywood in each bedframe, resting on top of the supporting 1010 cross rails and triangular corner brackets.